Family Bonding Through LED Art Installation
Over the recent holiday season I decided to try working on a project together with my family. I proposed the medium of LED light animation and started talking with Pegs (my mom) about it. What we ended up with looks pretty cool! It is made from some LED strips in the shape of a star.
Planning
I knew my mother would have to be the creative director of the project (you would understand if you ever visited their home), so I started by telling her about the medium I was interested in exploring (individually addressable LED light strips like these). We explored a few ideas around holiday words such as "Joy" and "Merry", and eventually settled on "Joy" as it was only 3 letters and would take less LED material. She started brainstorming typefaces (she is a graphic designer) and I began introducing the idea to the rest of my family.
I wanted buy-in from everyone not just before I made the financial commitment for parts, but also because the whole point was to bring us together through a joint challenge. I was surprised at how easy-going both Johnny (dad) and Garrett (brother) were. I invited them to share their thoughts about the project, and discussed their potential roles (mostly industrial & electrical engineering).
Once everyone was on board, I began researching parts and purchasing from the lovely Adafruit3.
Parts & System Design
I decided to work with the Fadecandy4, even for this small installation. I like to learn tools that are robust enough for more advanced projects.
All of the parts were purchased from Adafruit. I'm sure I could have saved money purchasing elsewhere, especially the LED strips, but I like their company and only had one shot at buying parts, I wanted to be sure everything would work together.
Here is my shopping list from Adafruit. I planned to use a Raspberry PI that I already had to drive the Fadecandy. As you can see I was preparing to work in a space with limited pre-existing supplies.
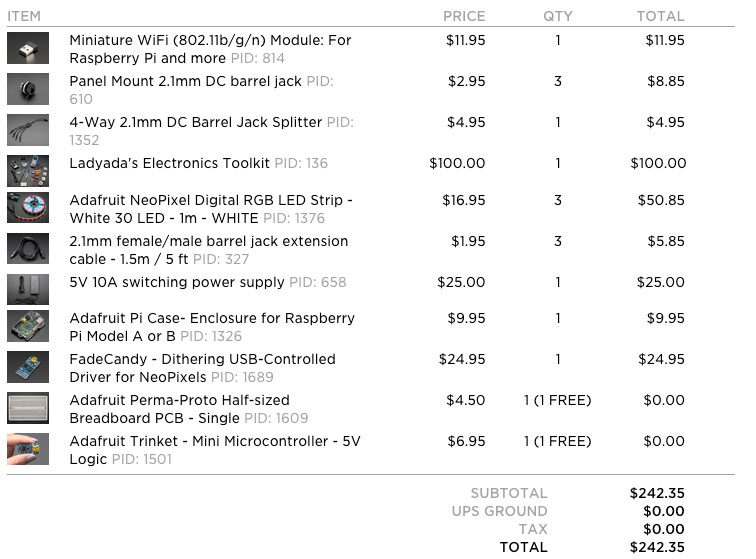
Adafruit shopping list
Getting Started
Once I arrived at my parent's and started discussing the project with them, we realized that the word idea wouldn't work. The word "joy" we had imagined in some sort of script font so it could be animated like someone was writing in cursive. The issue is that the LED strips only bend along one axis, the axis which the lights are aimed out of. So curving them along a face on which they are mounted (lights facing outwards) simply wouldn't work.
Instead Pegs suggested we build a star instead.
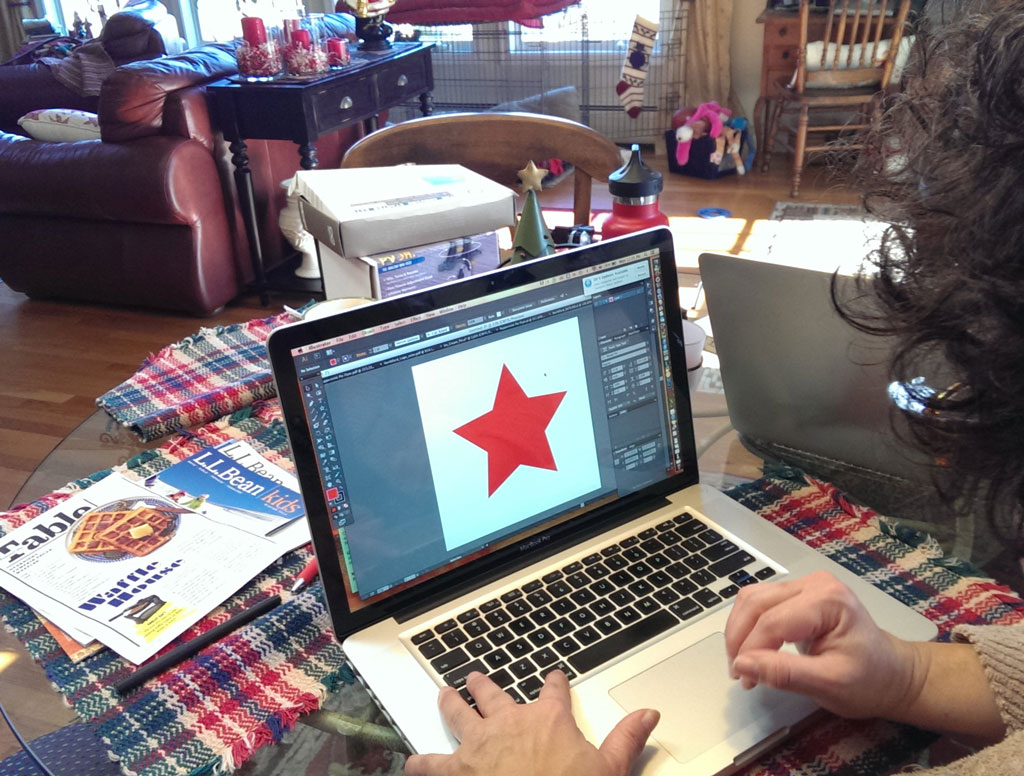
Peggy sketching a star in InDesign.
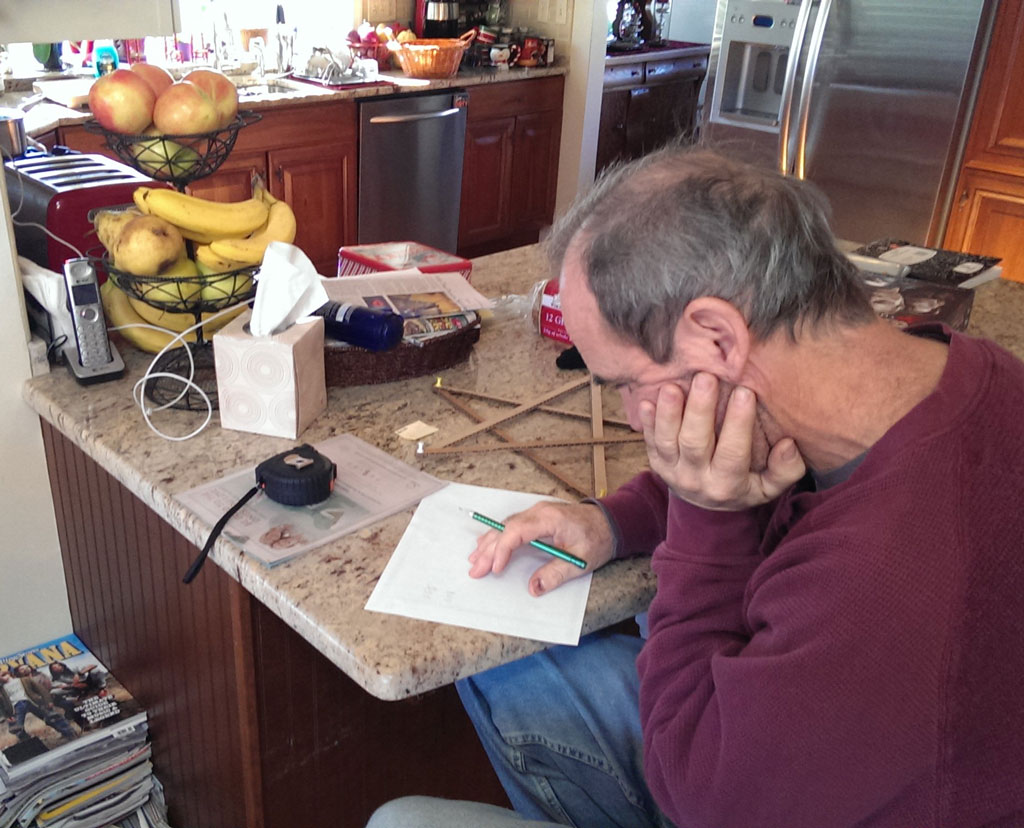
Johnny building star out of cardboard.
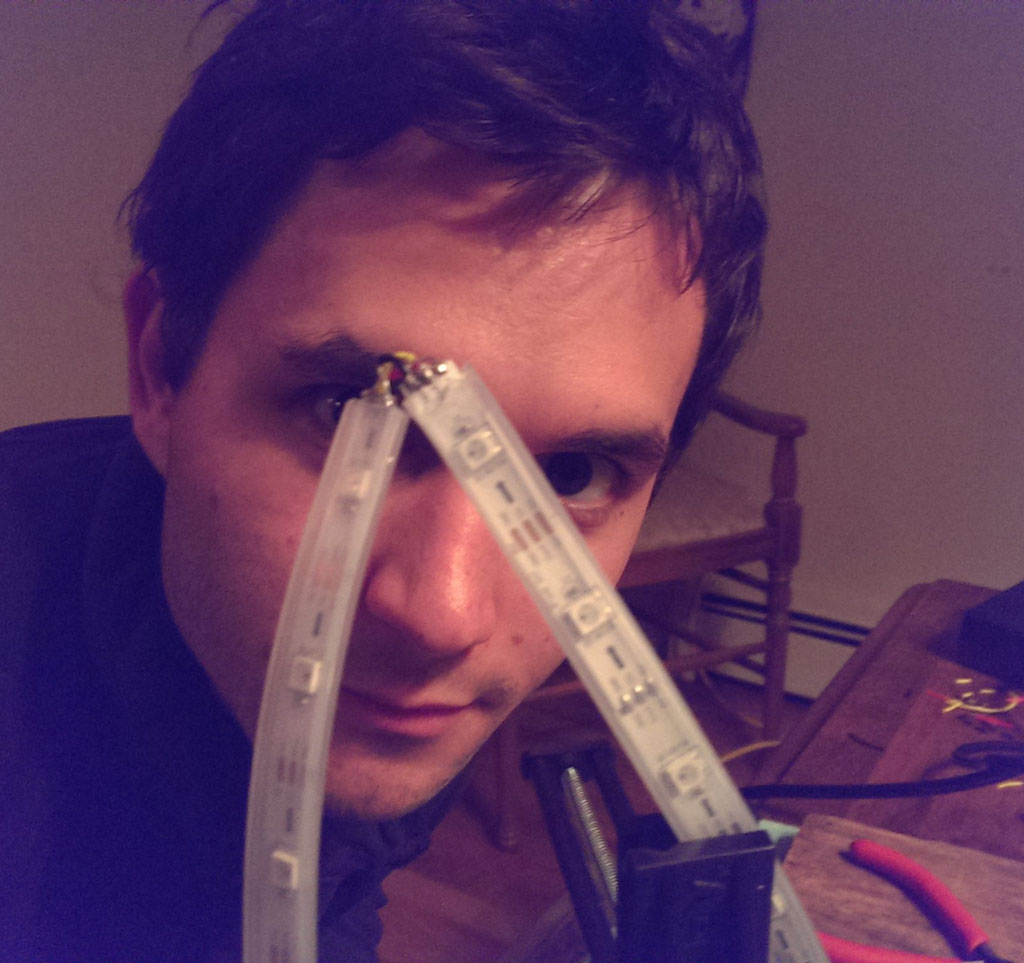
I started my brother on some soldering so we could perform a small test and see how bright these lights were. Please bear with the terrible quality of photos my phone captures in low-light conditions.

Garrett soldering lights
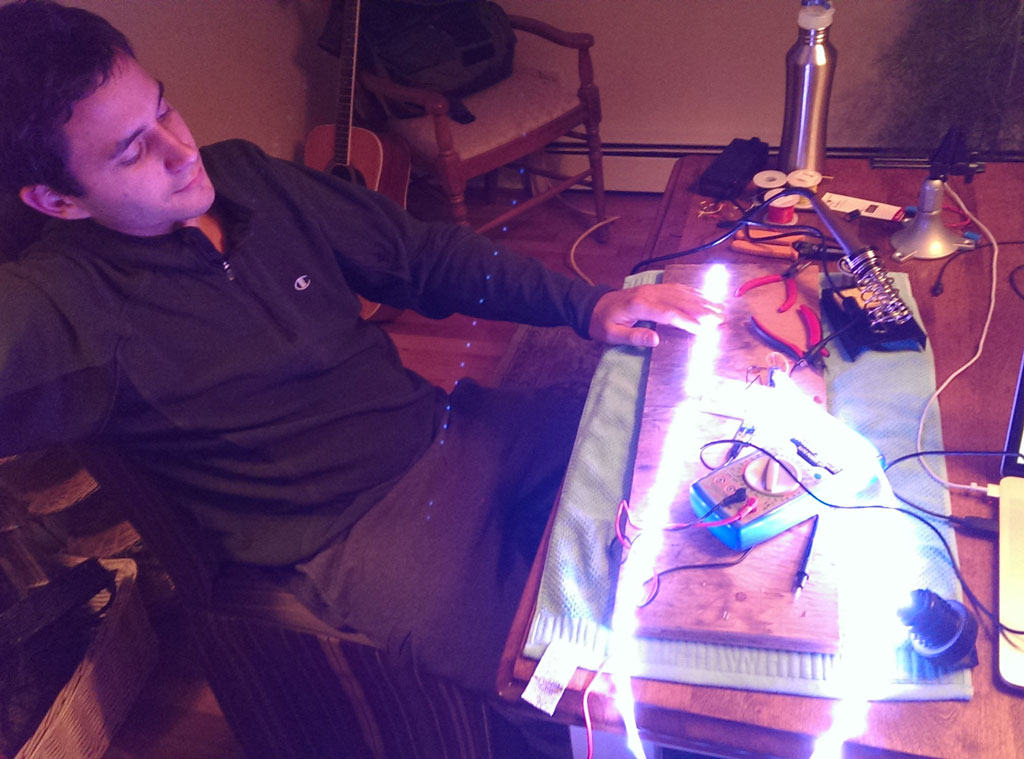
It's alive!
Production!
Industrial & Electrical
Once we were pretty confident things would work together, we started to build the real deal!
The soldering team started working on the corners of the star, as those seemed to be the trickiest part. We learned many lessons and ruined many lights trying to get these to work! For some reason we started out using very in-flexible wires and made them very short, thus putting all of the tension on the soldering joints themselves.
Garrett's first (of many) corner!
While the soldering was going, we printed out a paper model of the star, then Johnny welded and painted the final frame.
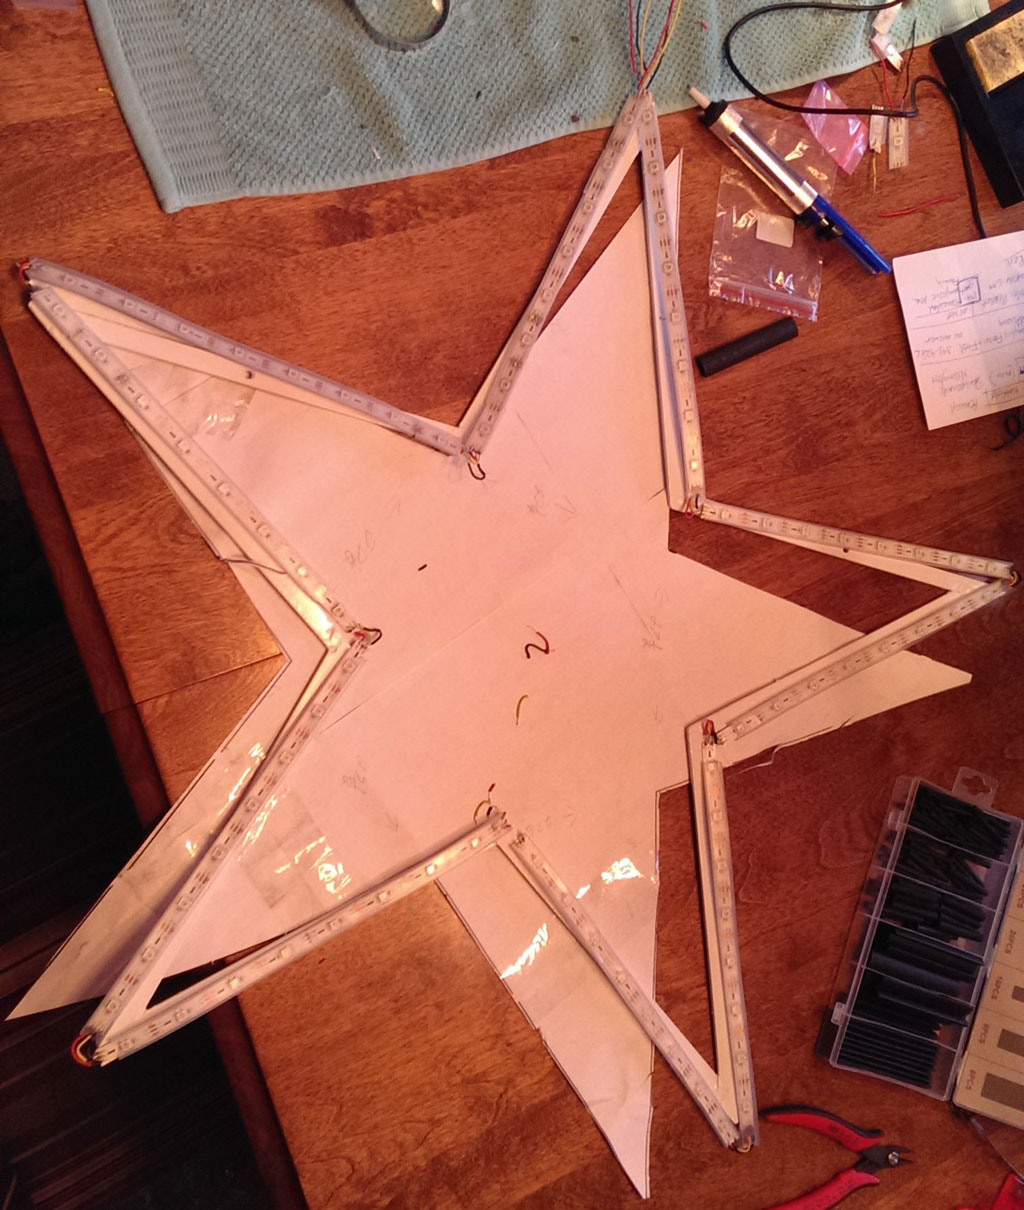
Paper model, johnny's frame, and the lights!
Programming
While everyone was off on their journey, I embarked on the light programming!
I discovered the openpixelcontrol2 simulator and was delighted to know I could work on the light programming while the installation was still being built.
Since Peggy had already created the star in InDesign, I decided to export the shape from there and get it into the form that the simulator could use.
I write a lot of JavaScript. The joylight programming is written in Node.js. It speaks to the Fadecandy (or the simulator) using OPC. The code can be found on GitHub1.
Joylight running on the OPC simulator.
Finishing Up!
After many failed solder connections and repairs, we finally got all sides of the star working! We used hot glue to seal all of the connections and put some semi-opaque plumbing tubing over the lights to diffuse them a bit. I think it worked pretty well!
Joylight in action running a few lighting patterns!
Even my good friend JLM implemented an animation. Yay holiday family times!